Hardwood Floors and Installation: The 2026 Complete Guide
Selecting the perfect hardwood floors and installation method is a transformative decision for any homeowner, balancing timeless aesthetics with long-term structural integrity. In 2026, the shift toward sustainable materials and precision-engineered planks has redefined how we approach this classic flooring choice. Whether you are tackling a DIY project or hiring a professional team, understanding the critical preparation steps—from moisture testing to acclimation—is the foundation of a floor that lasts for generations. This guide provides a deep dive into the costs, techniques, and emerging trends that define the modern hardwood landscape.
Planning Your Hardwood Floor Installation for 2026
To achieve a flawless hardwood floor installation, homeowners must prioritize subfloor preparation and a minimum 72-hour acclimation period for the wood planks. Ensuring the subfloor is level within 3/16 of an inch over a 10-foot span and maintaining a consistent indoor humidity level between 35% and 55% prevents future warping, gapping, or structural failure, explains Chadds Ford Management Company.
Subfloor preparation is the most overlooked yet critical phase of the installation process. According to the National Wood Flooring Association (2024), a significant majority of flooring failures are directly attributable to subfloor moisture or lack of levelness. Before the first plank is laid, the existing subfloor—whether plywood or concrete—must be thoroughly cleaned, sanded at the joints, and tested for moisture content using a professional-grade meter. For concrete slabs, a calcium chloride test is often recommended to ensure the vapor emission rate is within the manufacturer’s specified limits.
The 2026 market has seen a surge in “Smart-Core” engineered hardwoods, which offer enhanced stability in variable climates. These materials still require a dedicated acclimation period where the boxes are opened and stacked in the room of installation. This allows the wood fibers to reach an equilibrium moisture content with the home’s environment. Ignoring this step can lead to significant expansion or contraction once the floor is fastened, potentially damaging the tongue-and-groove joints.
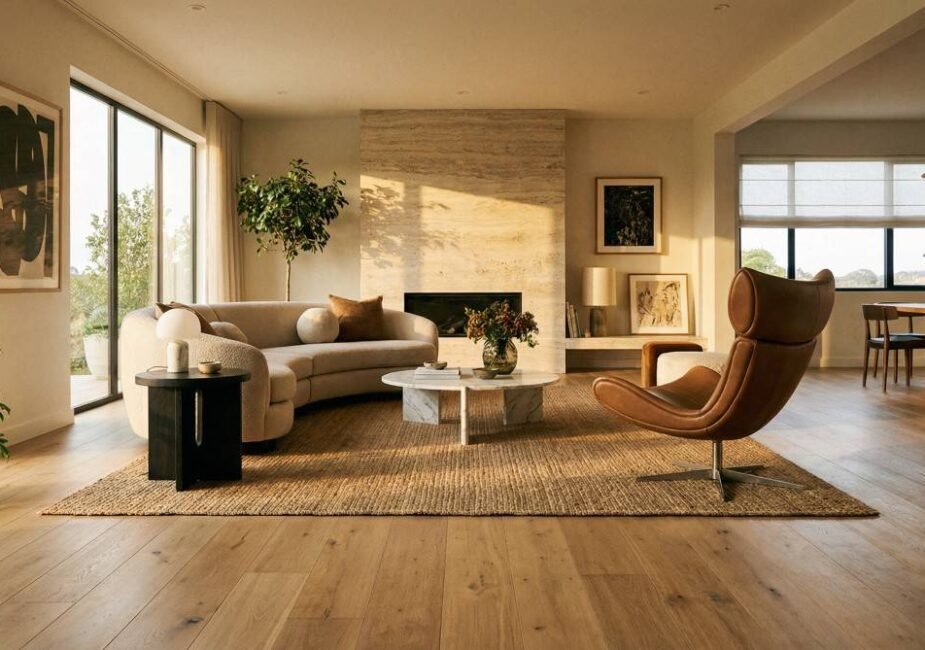
Current design trends for 2026 emphasize “Quiet Luxury” through the use of ultra-wide planks (7 inches or wider) and matte, wire-brushed finishes that hide daily wear and tear. Light, airy tones like Nordic Oak and warm, honeyed maples are replacing the dark, high-gloss cherries of previous decades. These aesthetic choices are often paired with eco-friendly, low-VOC (Volatile Organic Compound) adhesives and finishes, reflecting a growing consumer demand for healthier indoor air quality and sustainable sourcing.
Step-by-Step Guide to DIY Hardwood Installation
Successful DIY hardwood floor installation requires a systematic approach that begins with a precise layout and ends with a carefully maintained expansion gap. By starting with a snapped chalk line and staggering joints by at least six inches, DIYers can ensure structural stability and a professional-grade appearance that mimics high-end contractor work.
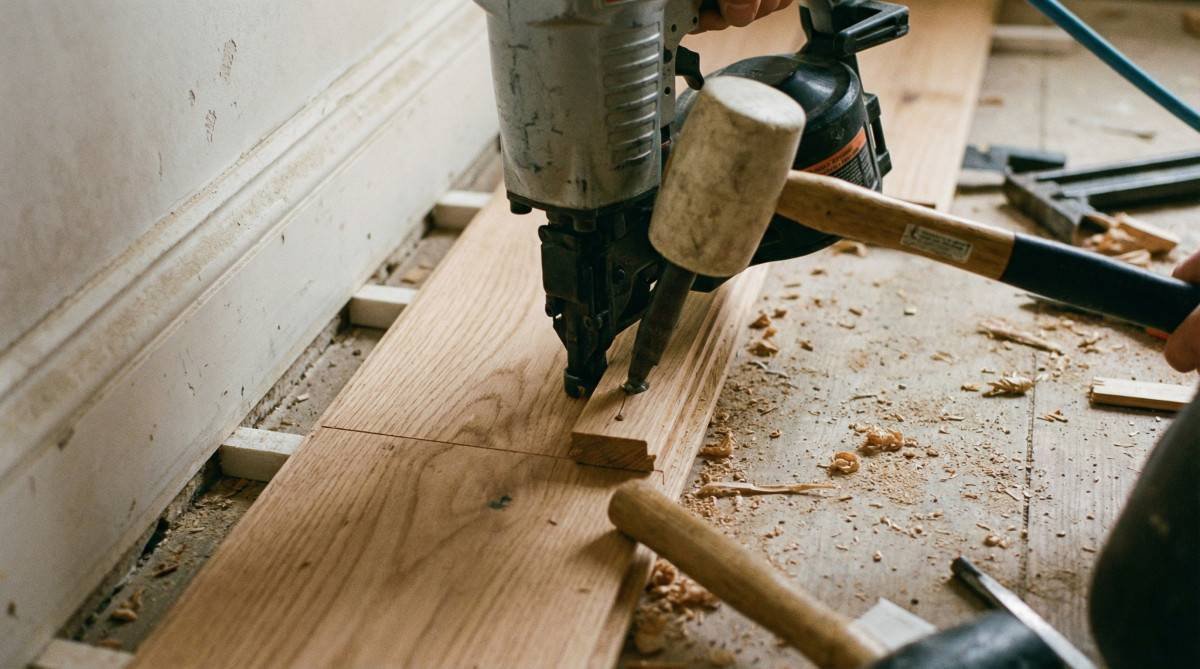
Before beginning, gather all necessary tools, including a pneumatic flooring nailer, a miter saw, a table saw, and a moisture meter. The layout phase is where the project is won or lost. Start by measuring the width of the room and dividing it by the width of your planks to ensure you don’t end up with a tiny “sliver” row at the far wall. If necessary, rip the first row to a narrower width to balance the room. Snap a chalk line parallel to the longest exterior wall to serve as your guide for the first row, ensuring it is perfectly straight regardless of any wall irregularities.
When installing the first row, face-nail the boards near the wall where the baseboard will eventually cover the holes. From the second row onward, use the flooring nailer to drive staples or cleats through the tongue at a 45-degree angle. It is vital to leave a 3/8-inch to 1/2-inch expansion gap around the entire perimeter of the room. Wood is a living material that expands and contracts with seasonal humidity changes; without this gap, the floor may buckle or “peak” during the humid summer months.
The choice between nailing, gluing, or floating depends largely on the subfloor and the type of hardwood. Solid hardwood is almost always nailed or stapled to a wood subfloor. Engineered hardwood offers more flexibility and can be glued down to concrete or “floated” over a high-quality underlayment. Floating floors are increasingly popular for DIYers because they do not require heavy machinery or messy adhesives, though they may have a slightly different acoustic profile when walked upon.
Professional Installation Costs and Considerations
Professional hardwood floor installation costs in 2026 typically range from $8 to $16 per square foot, depending on the wood species, room complexity, and local labor rates. While DIY can save significantly on labor, professional installers provide specialized equipment and warranties that protect your investment against moisture-related failures and installation defects.
Understanding the breakdown of costs is essential for accurate budgeting. Labor typically accounts for 40% to 50% of the total project cost, with the remainder going toward materials, underlayment, and finishing supplies. According to HomeAdvisor (2025), homeowners should also budget an additional 10% to 15% for “waste” material to account for cuts and board defects. The following table outlines the estimated costs for a standard 1,000-square-foot installation project.
| Cost Component | Estimated Range (per sq. ft.) | Total for 1,000 sq. ft. |
|---|---|---|
| Hardwood Materials (Mid-Range) | $5.00 – $9.00 | $5,000 – $9,000 |
| Professional Labor | $3.00 – $6.00 | $3,000 – $6,000 |
| Underlayment / Vapor Barrier | $0.50 – $1.00 | $500 – $1,000 |
| Removal of Old Flooring | $1.00 – $2.00 | $1,000 – $2,000 |
| Total Estimated Project Cost | $9.50 – $18.00 | $9,500 – $18,000 |
When choosing a professional installer, look for certification from the National Wood Flooring Association (NWFA). A reputable contractor will perform a site visit to measure moisture levels and inspect the subfloor before providing a quote. Be wary of “all-in-one” low prices that may cut corners on underlayment quality or skip the necessary acclimation period. Always ask for references and proof of insurance to ensure your home is protected throughout the renovation process.
Maintenance and Care for Long-Lasting Beauty
Maintaining the luster of hardwood floors requires a proactive approach that combines regular cleaning with climate control to prevent environmental damage. Utilizing microfiber mops and pH-neutral cleaners specifically formulated for wood finishes ensures that the protective topcoat remains intact while removing abrasive dust and grit that can cause micro-scratches.
The first 12 months after installation are the most critical for the floor’s long-term health. As the wood experiences its first full cycle of seasonal changes, you may notice small gaps appearing in the winter or slight expansion in the summer. This is normal behavior for natural wood. To minimize these effects, many experts recommend using a whole-home humidifier during the dry winter months to keep the indoor humidity above 35%. This prevents the wood from drying out and cracking, a common issue in colder climates.
In 2026, there is a significant move toward “Biophilic Maintenance,” which uses plant-based oils and water-borne finishes instead of traditional oil-based polyurethanes. These modern finishes are not only better for the environment but also easier to “spot-repair” if a single plank becomes damaged. Unlike old-fashioned finishes that required sanding the entire room, many 2026 finishes allow for localized buffing and recoating, significantly extending the time between full refinishing projects.
For homes with pets or high foot traffic, placing breathable rugs in entryways and under heavy furniture is essential. Avoid rugs with rubber or plastic backings, as these can trap moisture and discolor the wood finish over time. Instead, choose natural fiber pads that allow the wood to “breathe.” Regular sweeping or vacuuming with a “hard floor” setting—which disengages the beater bar—will prevent dirt from being ground into the wood surface.
Frequently Asked Questions
How much does it cost to install 1000 sq ft of hardwood floors?
For a 1,000-square-foot space, homeowners should expect to pay between $9,500 and $18,000 for professional installation, including mid-range materials and labor. This price can fluctuate based on the complexity of the room layout, the need for subfloor leveling, and the specific wood species selected.
What color floors are in for 2026?
The dominant flooring colors for 2026 are light, natural tones such as Nordic Oak, soft greys, and warm maples with matte finishes. These colors align with the “Quiet Luxury” and “Biophilic Design” trends, focusing on making spaces feel larger, brighter, and more connected to natural elements.
How long should hardwood acclimate before installation?
Hardwood planks should acclimate in the room where they will be installed for a minimum of 72 hours, though many manufacturers recommend 5 to 7 days for solid wood. The goal is to allow the wood’s moisture content to match the home’s relative humidity, preventing future expansion or shrinkage.
Can I install hardwood floors over a concrete slab?
Yes, hardwood can be installed over concrete, but it requires specific methods. Engineered hardwood is typically preferred for concrete because it can be glued down or floated. If you choose solid hardwood, you must first install a plywood subfloor or a robust vapor barrier system to protect the wood from moisture.
What is the best way to clean hardwood floors daily?
The best daily cleaning method is using a dry microfiber dust mop or a vacuum set to the “hard floor” mode to remove grit. For deeper cleaning, use a damp—not wet—mop with a pH-neutral cleaner specifically designed for hardwood to avoid damaging the finish or causing wood swelling.
Conclusion
Investing in hardwood floors and installation is a significant commitment that pays dividends in home value and daily enjoyment. By following modern 2026 standards for preparation, selecting sustainable materials, and committing to a consistent maintenance routine, you ensure that your floors remain a stunning centerpiece of your home. Whether you choose the hands-on satisfaction of a DIY project or the peace of mind offered by a certified professional, the key to success lies in the details of the preparation and the quality of the craftsmanship.
References
1. National Wood Flooring Association (NWFA) – Technical Guidelines for Wood Flooring Installation (2024).
2. HomeAdvisor – 2025 Hardwood Flooring Cost Guide.
3. The Home Depot – Professional Hardwood Installation Services.
4. Instructables – DIY Hardwood Installation Masterclass.
Last modified: April 14, 2026